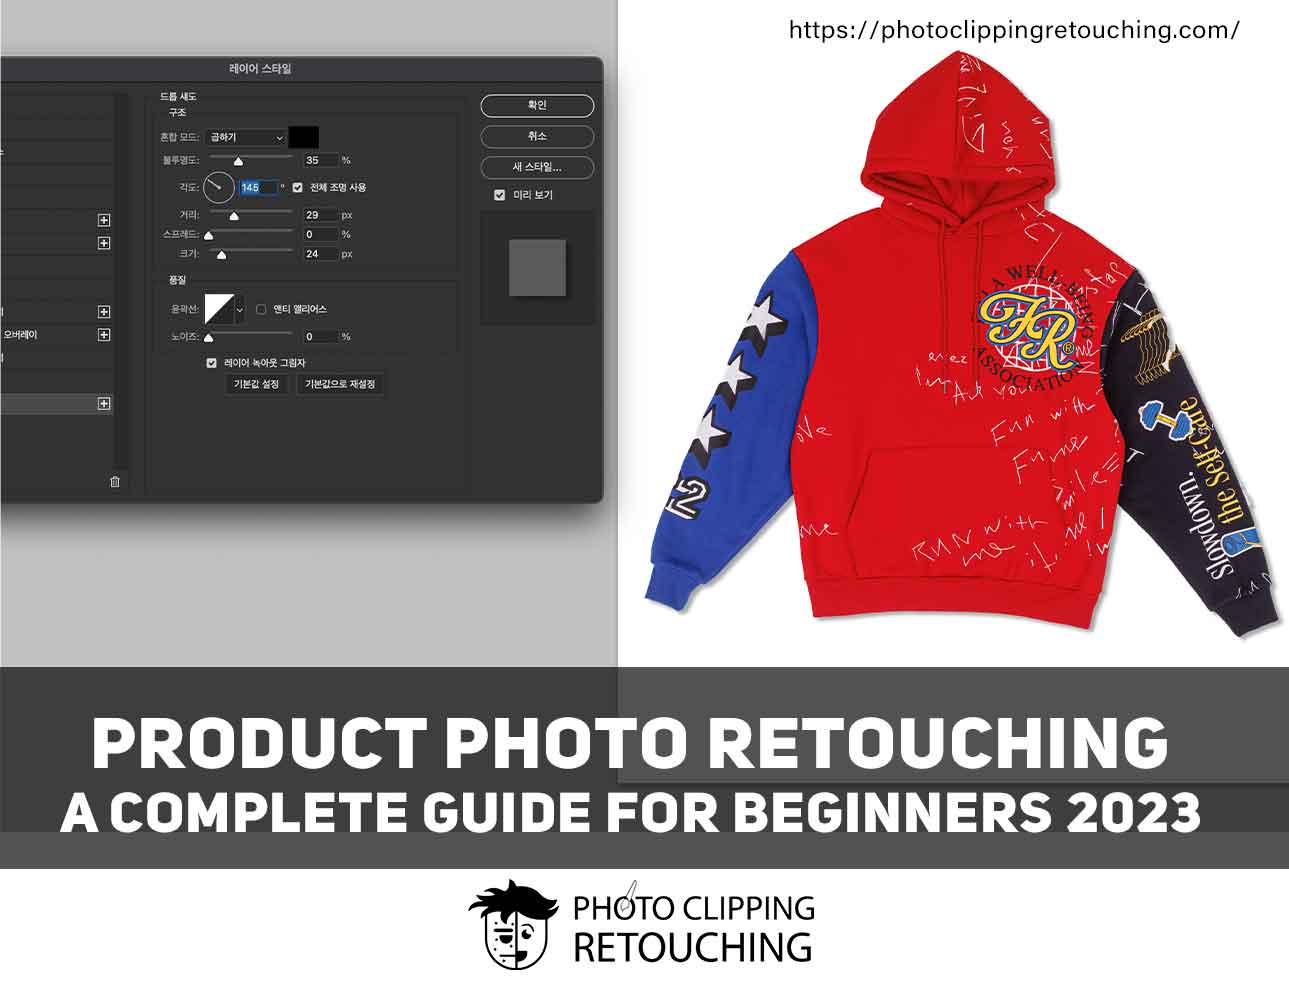
Product Photo Retouching : Everything You Need To Know in 2024
- PCR Graphics Firm
- 0
- on Jan 02, 2023
Product Photo Retouching: Everything You Need To Know in 2024
Learn the basics of product photo retouching with this comprehensive guide for beginners. From colour correction to background removal, our step-by-step tutorial covers all the essential techniques you need to create professional-grade product images. Whether you’re a photographer, an e-commerce seller, or just looking to improve your product photography skills, this guide has something for you.
What is product photo retouching?
Editing the product photo after the shoot is basically called product photo retouching. But it’s not just simple editing. It is a deep version of photo editing. It has so many steps, from cropping to peeling off spots. We retouch a picture to prepare the picture for publishing.
Guide for product photo retouching :
For retouching a photo, you need to follow some basic methods. They are given below:-
1. Remove the background
One of the most common edits in the product photography industry is to remove the image background. Working on or editing the background is important if you want to retouch a product photo. If you change the background or edit the background, it will add a professional effect to your work.
2. Remove blemishes
Suppose the model does the photography. There will be a requirement for two different types of retouching.
- Product retouching;
- Model retouching.
Blemishes usually come with photographs. To clean up the face, you have to remove unwanted blemishes and spots.
And the products can also have blemishes and spots. So you may need to edit the product photos too.
3. Colour correction
Colour correction is the must-do thing for photo retouching. You have to work on brightness, contrast, white balance, etc., for colour correction in a photo. Customers expect to have the product that they see online. By correcting the colour, you will give the product its original Colour. So the customers will be satisfied. So the original Colour of the product and the Colour of the pictures should be the same.
4. Batch processing
When you are working on a lot of pictures, batch processing is the most appropriate. It saves plenty of time. If the light condition is the same and requires similar editing, you can edit one picture and apply the edit to all the other pictures. Editing every picture is hard. You can use back processing to make your work earlier.
5. Change colours
If you have a few products that have the same design but different colours. Using the saturation tool, you can change the product’s color. By shifting the saturation scale, you can change the product’s colour.
6. Increase sharpness
To make the product pop out more, you can increase the sharpness. Also, the effect is normally used to draw attention to the picture. A sharp picture is mandatory to create a positive impression of the product and its brand. If it is not sharp enough while shooting, you have to edit it and make it sharp.
7. Add shadows
The picture looks more realistic when you add shadows to it. It gives knowledge about the dimension and surface. You can easily add a shadow. You can use the auto option to create a shadow, or you can paint the shadow on your own.
8. Remove reflections
Glossy products like jewelry or glass usually reflect things. It always distracts people from the product. You have to pay attention to the reflection while shooting a glossy product.
9. Create a ghost mannequin effect
The “ghost mannequin effect” is very well-known in the fashion photography industry. Using this ghost mannequin effect, you can create clothing images without models. And you can get a professional look. It will give an idea of how it will look on the model after they wear the clothes.
10. Crop and straighten
Lastly, use the crop and straighten method. There may be no photo that does not go through this process. To fix the size of the picture, cropping is a must. To give a formal look to the picture, you must straighten the vertical and horizontal lines.
What is the simplest way to retouch a photo?
The easiest ways to retouch a photo are given below:-
- Firstly duplicate the image layer so that you can avoid the damaged the original layer;
- Secondly, use the Patch Tool to deduct the wrinkles ;
- Thirdly use the Clone Stamp Tool to get rid of eye bags;
- Fourthly use the Spot Healing Spot Tool to extract blemishes;
- Lastly, save and export the image.
What is the difference between photo retouching and editing?
Photo editing is mainly used for improving product images for e-commerce websites. And photo retouchers need professional help. They are used for industrial pursuits and personal purposes, like wedding photos, baby showers, travel photos, and more.
How much should I charge for retouching a photo?
On average, it goes for $90 per hour for product photo editing. If you ask about the picture, then you ought to spend around $3 per picture. And it mostly depends on the file quality and the pricing.
Where can I find clients for retouching jobs?
You have to make some effort to find your client. These are the places where you can find your client:-
- Social media;
- Trade shows;
- Google;
- Magazine;
- Local photographers meet-ups.
Conclusion
The e-commerce business has started the journey very recently. But within a short period, it has become very popular. People nowadays are very fond of online shopping.
This e-commerce business runs through product photography. Photography is the backbone of e-commerce. The photography catches buyers’ attention.
To do product photography, knowing product retouching in Photoshop is a must. This is to develop quality photos for customers.